Download CINEVR for free

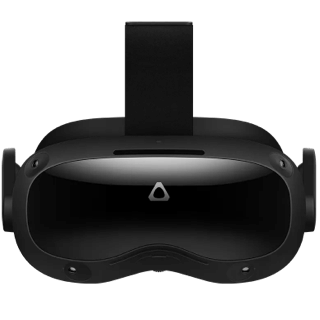

Test our demo on mobiles
If you haven’t a VR headset, download our demo on smartphones.


This is the most reliable method using the built-in Windows driver for a compatible printer family.
| Step | Action | |------|--------| | 1 | Open Settings → Devices → Printers & scanners. Click “Add a printer or scanner”. | | 2 | Wait for detection. When “The printer that I want isn’t listed” appears, click it. | | 3 | Select “Add a local printer or network printer with manual settings”. Click Next. | | 4 | In “Use an existing port”, select USB001 (Virtual printer port for USB). Click Next. | | 5 | In the manufacturer list, select OKI. In the printers list, select OKI Microline 395 or OKI Microline 395C. | | 6 | If not shown, click Windows Update and wait for the list to refresh. | | 7 | Click Next → Use existing driver (replace if prompted) → Next. | | 8 | Enter a printer name: “Olivetti PR2 Plus (OKI emulation)” → Next. | | 9 | Select “Do not share this printer” → Next. Click Finish. | how to install olivetti pr2 plus printer on windows 10
Test: Print a test page. The printer should respond. This is the most reliable method using the
If the specific Olivetti driver fails to render documents correctly, a common workaround involves using the "Generic / Text Only" driver. Wrong driver installed / garbled output:
Connect the printer to the PC via the USB cable. In many cases, the printer utilizes a proprietary USB-B to USB-A cable.
.inf driver file → OK.Test our demo on mobiles
If you haven’t a VR headset, download our demo on smartphones.